Build a DIY Wooden Monocular Telescope: Assembly & Use
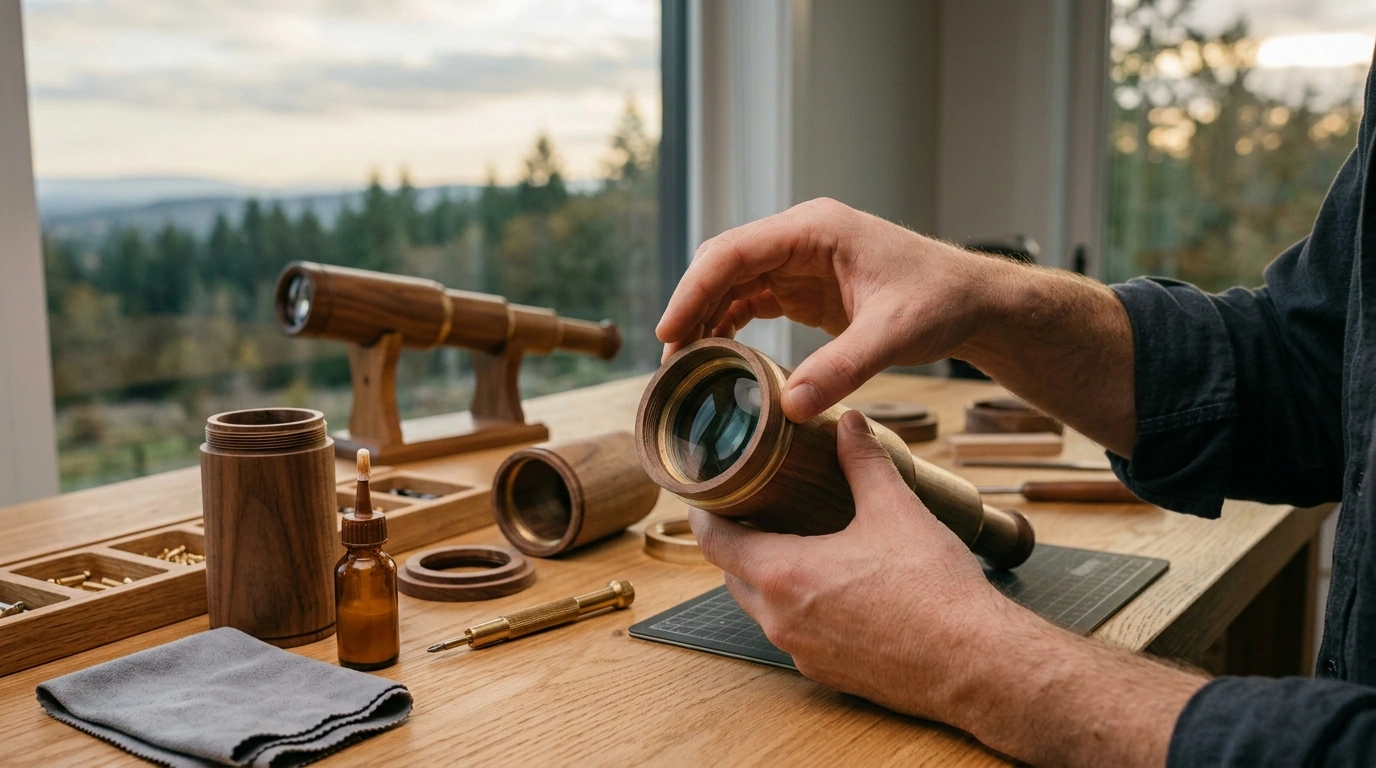
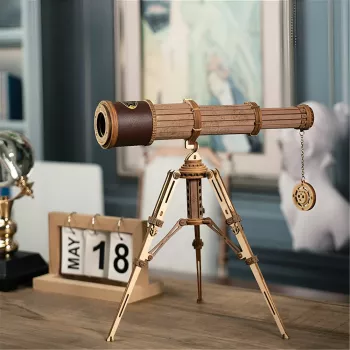
DIY 1:1 Wooden Monocular Telescope Kit
Building a wooden monocular is the kind of project that feels both old-school and surprisingly practical. The DIY 1:1 Wooden Monocular Telescope Kit blends a classic instrument look with a hands-on assembly experience—cut, fit, secure, then fine-tune the optics until distant details snap into focus. It’s an enjoyable weekend build that ends as a working desk-ready display piece for casual landscape and sky viewing. For more guidance, see Hazard detection with a monocular bioptic telescope – PubMed – NIH.
What Makes a Wooden Monocular Kit Special
A wooden monocular kit stands out because it isn’t just a model; it’s a functional optical instrument once assembled. The wood body gives the build a warm, vintage vibe that looks at home on a shelf or study desk, while the optical components let you actually use it for quick viewing sessions. For further reading, see Build a Telescope | STEM Activity – Science Buddies.
- Combines a buildable wooden shell with optical components for a functional monocular-style telescope
- Classic aesthetic that complements desks, shelves, libraries, and study décor
- Great for hobbyists who enjoy model building, light optics, and hands-on STEM-style projects
- Helps make basic optics concepts feel tangible (focal length, alignment, and focusing)
For background on how telescopes and lens systems work, Encyclopaedia Britannica’s overview is a solid reference: https://www.britannica.com/technology/telescope.
What’s Typically Included and What to Have Ready
Most wooden monocular kits include pre-cut wooden parts for the barrel and rings, plus lenses and small hardware for mounting. Contents can vary by batch, so it’s smart to lay everything out before starting and confirm you have the core parts: the wooden body pieces, lens elements, and fasteners.
Have ready a clean workspace, a small screwdriver, wood glue (if your kit calls for it), and a microfiber cloth for lens handling. If you want a sturdy general-purpose tool for tightening and workshop tasks beyond this build, the 18″ Aluminum Pipe Wrench is also available in stock.
Quick checklist before assembly
| Item | Why it helps | Tip |
|---|---|---|
| Microfiber cloth | Prevents scratches and smudges on lenses | Avoid paper towels on optical surfaces |
| Small screwdriver | Fits small fasteners without stripping | Use firm downward pressure |
| Wood glue (if needed) | Adds rigidity and reduces rattling | Apply thinly; wipe squeeze-out quickly |
| Bright lamp | Improves alignment and inspection | Angle light to spot gaps or lens dust |
Assembly Overview: A Smooth Build Without Guesswork
The easiest way to keep the build relaxing (instead of fiddly) is to treat it like a precision fit-up: confirm how parts mate before anything becomes permanent.
- Dry-fit the wooden barrel pieces first to verify orientation and tolerances before glue or tightening
- Assemble the body in stages: inner supports, barrel segments, then external rings or trim
- Install optics only after the wooden body is stable to reduce shifting alignment later
- Keep lenses covered until the moment they’re seated to minimize dust and fingerprints
A simple habit that helps: when the body is partially assembled, look through the empty barrel toward a bright wall or lamp. If you see internal rings intruding into the light path, that’s the moment to correct seating—before the lenses go in.
Getting a Clear Image: Focusing and First Use
First focus is best done in daylight using a distant, high-contrast target: a tree line, a rooftop edge, or sign lettering across a parking lot. Start at a comfortable viewing distance, then make small adjustments. Sharpness can change quickly near best focus, so slow, incremental turns beat big twists.
- Choose a distant subject with crisp edges for the first focusing attempt
- Make tiny focus changes; stop when edges look clean rather than “bigger”
- If the image looks hazy, check lens cleanliness, correct seating, and that parts are fully snug
- For night viewing, start with the Moon; bright planets may stay small but should look crisp when focused
For stargazing basics and timing tips, NASA’s skywatching guidance is a helpful companion: https://science.nasa.gov/solar-system/skywatching/.
Learning Value: Simple Optics Concepts That Click
This kind of kit quietly teaches the “why” behind what you see through the eyepiece. The build makes it obvious that clear viewing isn’t only about magnification—it’s about spacing, alignment, and managing light.
- How lenses bend light to form an image and why spacing matters
- Why higher magnification can amplify shake and narrow the field of view
- How contrast and lighting often matter more than magnification alone
- How careful assembly and alignment influence performance
Even a small monocular can demonstrate big ideas: for example, a slightly tilted lens can soften one side of the image, and a tiny smudge can look like a persistent “fog” until it’s cleaned correctly.
Who It’s For: Gifts, Classrooms, and Hobby Desks
If the goal is a project that ends in a functional object (not just a shelf model), the DIY 1:1 Wooden Monocular Telescope Kit is a satisfying pick at a friendly price point.
Care, Storage, and Safety Notes
Common Issues and Fast Fixes
FAQ
Is it functional or mainly decorative?
It’s a buildable monocular that can be used for casual viewing, and it also works well as a classic display piece. Expect a fun, usable instrument, but not the reach or stability of a full-size tripod telescope.
What age is appropriate for assembling it?
Teens and adults are a good fit, especially for careful lens handling and small hardware. Younger builders can enjoy it with close supervision and help during optical installation.
Can it be used for astronomy?
Yes for bright, easy targets—start with the Moon and then try bright planets or distant lights. Keep expectations realistic due to aperture and hand-held stability, and never look at the Sun through it.









Leave a comment