Massage Gun for Athletes: Warm-Up & Recovery Guide
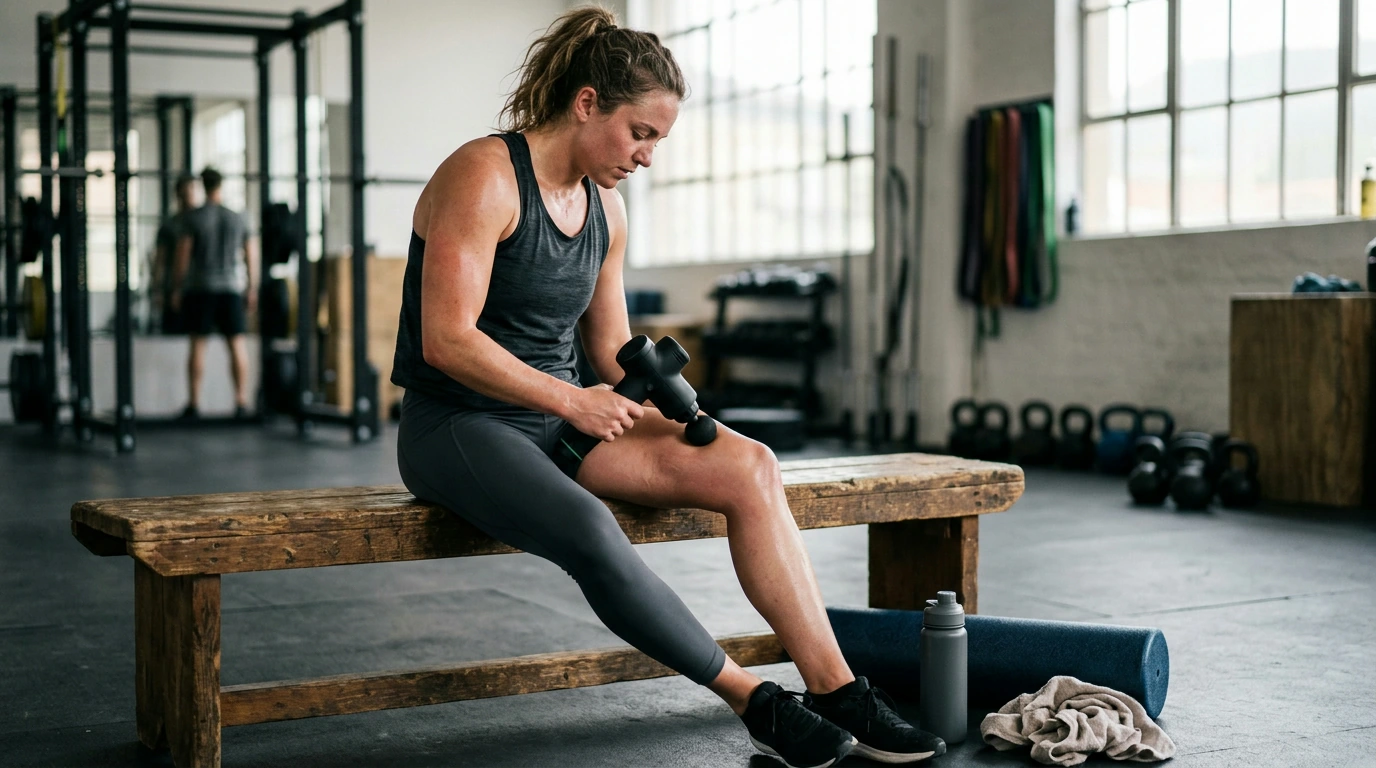
Deep Tissue Massage Gun for Athletes: Faster Warm-Ups, Smoother Recovery
Training loads add up fast—tight calves, heavy quads, stiff hips, and sore shoulders can limit range of motion and make the next session feel harder than it should. A deep tissue massage gun uses rapid pulses to help relax overworked muscles, support circulation, and make mobility work feel more effective before and after workouts. Used with smart pressure and good technique, it can become a simple, repeatable part of warm-ups, cooldowns, and between-session maintenance.
Why athletes use percussion massage
- Helps reduce the “tight” feeling in muscles after hard sessions by encouraging relaxation and tissue movement.
- Useful as part of a warm-up to help muscles feel more ready before sprinting, lifting, or longer endurance work.
- Pairs well with stretching and mobility drills for joints that tend to feel restricted (hips, ankles, shoulders).
- Can be a practical option between training sessions when scheduling hands-on massage isn’t realistic.
As with most recovery tools, the biggest payoff comes from consistency and appropriate intensity. For a safety overview of percussion and vibration tools, see Cleveland Clinic’s guidance on benefits and considerations: https://health.clevelandclinic.org/.
What “deep tissue” means in a massage gun
- Depth is influenced by stall force (how much pressure it can handle without stopping), amplitude (how far the head travels), and speed settings.
- More intensity is not always better—deep work should feel like strong pressure, not sharp pain.
- For smaller muscles (forearms, feet) and bony areas (shins, collarbone), lower intensity is typically safer and more comfortable.
- Athletes often benefit from adjustable settings to match different muscle groups and training phases.
A useful rule: if you have to brace, hold your breath, or tense up to “tolerate” it, it’s likely too aggressive for that spot today. Deep tissue work should help you relax into movement, not fight through it.
Quick-start routine: before training vs. after training
- Before training: use lighter pressure and moderate speed to “wake up” muscles; keep moving and avoid lingering on one spot.
- After training: use moderate pressure and slower passes for relaxation; combine with breathing and gentle mobility.
- Typical timing: 30–60 seconds per area for warm-up; 1–2 minutes per area for cooldown, based on comfort.
- Stop if there is numbness, tingling, sharp pain, or symptoms that worsen over the next 24 hours.
Sample session guide by muscle group
| Area | Warm-up (time & feel) | Recovery (time & feel) | Notes |
|---|---|---|---|
| Calves | 30–45s, light-to-moderate | 60–120s, moderate | Avoid the back of the knee; sweep along the muscle belly |
| Quads | 30–60s, light-to-moderate | 60–120s, moderate | Spend extra time near the outer quad if it feels tight, but don’t press into the hip bone |
| Glutes | 30–60s, moderate | 60–120s, moderate | Good for post-run or heavy lower-body days; avoid direct pressure on the tailbone |
| Hamstrings | 30–45s, light | 60–90s, light-to-moderate | Keep pressure controlled; avoid the crease behind the knee |
| Upper back | 30–45s, light | 60–90s, light-to-moderate | Stay on muscles, not the spine; use a softer head if sensitive |
| Shoulders (delts) | 20–40s, light | 40–60s, light | Short sessions often feel best; avoid the front of the shoulder joint |
Technique that protects joints and nerves
- Keep the head moving slowly; hovering in one point can irritate tissue.
- Use a “glide and pause” approach: sweep the muscle, pause briefly on tender spots, then move on.
- Avoid high-pressure use on: joints, the spine, the front of the neck, the armpit area, and anywhere numb or bruised.
- For deep work, increase time and consistency before increasing force.
If you’re prone to cramping or muscle pain flare-ups, basic self-care guidance and red flags are outlined by Mayo Clinic: https://www.mayoclinic.org/. When something feels “off” (shooting pain, nerve symptoms, swelling that doesn’t match your training), skip the tool and get it checked.
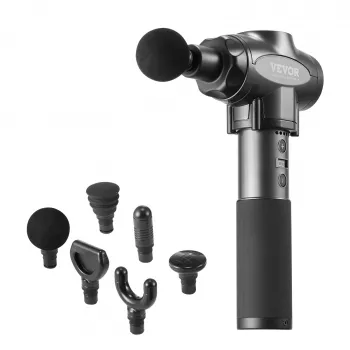
Attachments and where each one works best
When to avoid using a massage gun
For athletes who like to dig into the research, PubMed is a helpful database for studies on vibration/percussion and outcomes like soreness and performance: https://pubmed.ncbi.nlm.nih.gov/.
A practical pick for training bags and home recovery
If you want a straightforward option designed with training use in mind, consider the Deep Tissue Massage Gun for Athletes. Pairing muscle care with hydration and nutrition can also support how you feel day to day—some athletes like quick fruit-and-protein smoothies post-session, and a compact tool like the Compact 400W Mini Juicer with 16oz Cup – Easy & Efficient Fruit Juice Extractor can simplify that routine.
FAQ
How long should a massage gun be used on one muscle?
For warm-ups, 30–60 seconds per area is usually enough with light-to-moderate pressure while keeping the head moving. For recovery, aim for 1–2 minutes per area at a comfortable intensity; stop if you feel numbness, tingling, sharp pain, or if symptoms worsen over the next day.
Can a massage gun help with delayed-onset muscle soreness (DOMS)?
It may reduce the feeling of soreness and improve short-term comfort by helping muscles relax, especially when used gently after training. It’s still not a substitute for sleep, adequate calories and protein, hydration, and a training plan that progresses in manageable steps.
Is it safe to use a massage gun every day?
Daily use is generally fine when it’s light-to-moderate, you rotate areas, and you avoid aggressive pressure on sensitive spots. If you’re tempted to “hammer” the same muscle hard every day, back off and match intensity to your training load and your body’s response.







Leave a comment